Find out what aerial (or atmospheric) perspective is and how to use it to create the illusion of depth in your own paintings.
Be sure to stick around until the end to learn one simple trick to elevate your atmospheric perspective to the next level!
Contents
What Is Atmospheric Perspective
The word perspective describes the method that gives drawn or painted objects the appearance of depth and distance. In other words: perspective makes your paintings look three dimensional.
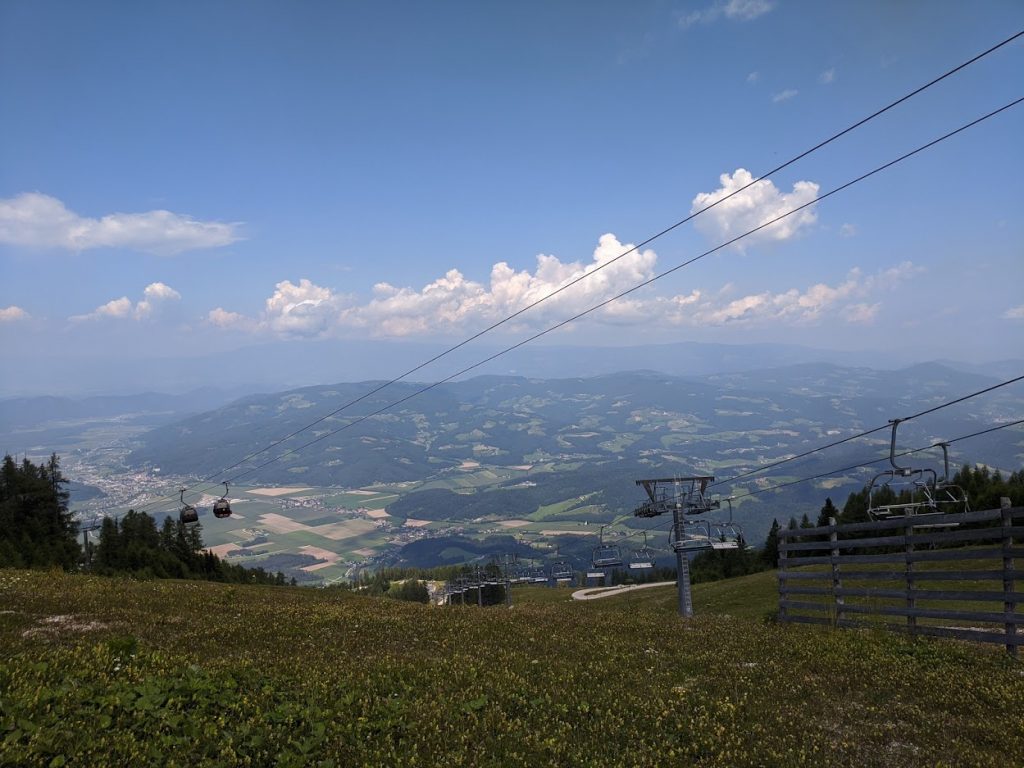
Atmospheric perspective, also called aerial perspective, is the effect the earth’s atmosphere has on the appearance of objects in the distance. This includes
- Color shifts
- Reduced contrast
- Reduced details
Mastering these effects is a fundamental step in creating perspective and depth in your paintings. Continue reading to find out how to create aerial perspective in your own drawings and paintings!
What Creates Aerial Perspective
The main component of atmospheric perspective is the scattering of light through molecules and particles in the air. Examples are smoke, water vapor, or fog.
These tiny particles diffuse the light into the line of sight of the viewer. Or in layman’s terms: distant objects appear ‘washed out’. The contrast is reduced and details are less visible.
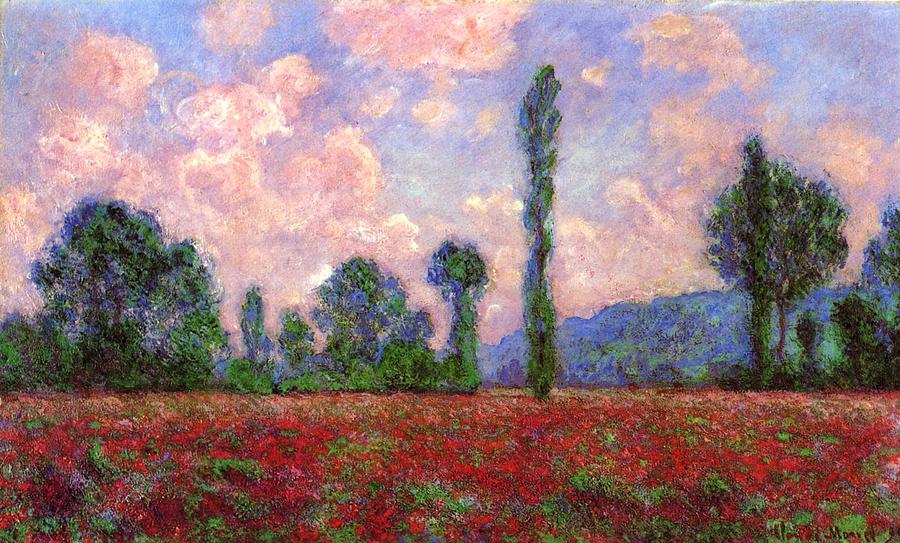
A large effect of atmospheric perspective is the blueish color of distant mountains and other objects. This is the same effect that makes the sky blue. The scattered light contains more light of short wavelengths than other wavelengths. This creates a blue color.
The Three Principles Of Great Atmospheric Perspective
Creating atmospheric perspective in your paintings is easy as 1-2-3. If you master three simple principles you can add depth to your landscape paintings and create an illusion of scale, vastness, and distance that will make people go “WOW” when they see your masterpieces.
1. Details And Texture
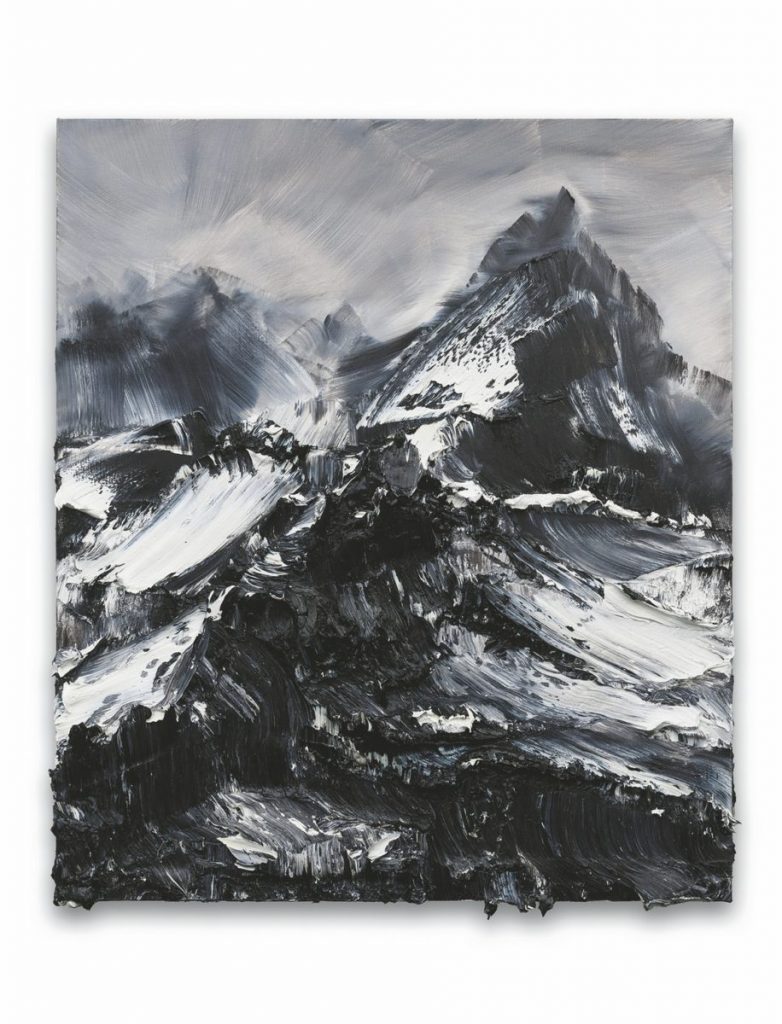
The farther away things are, the fewer details our eyes can see. A simple example: while you might paint individual leaves on a tree in your painting’s foreground you might paint whole trees (or even groups of trees, or whole forests) as a single element in your backgrounds.
A fantastic technique to push your paintings to the next level is to combine the physical texture of your painting with the texture of the elements in your painting. Paint mountain cliffs in your foreground with thick impasto make the viewer feel like they are looking at real cliffs and paint the mountains in your background smooth to push them far away.
2. Value And Contrast
The value of color describes how dark or light is. Objects of lower value are darker, objects of higher value are lighter. This means that black is the lowest and white the highest value color.
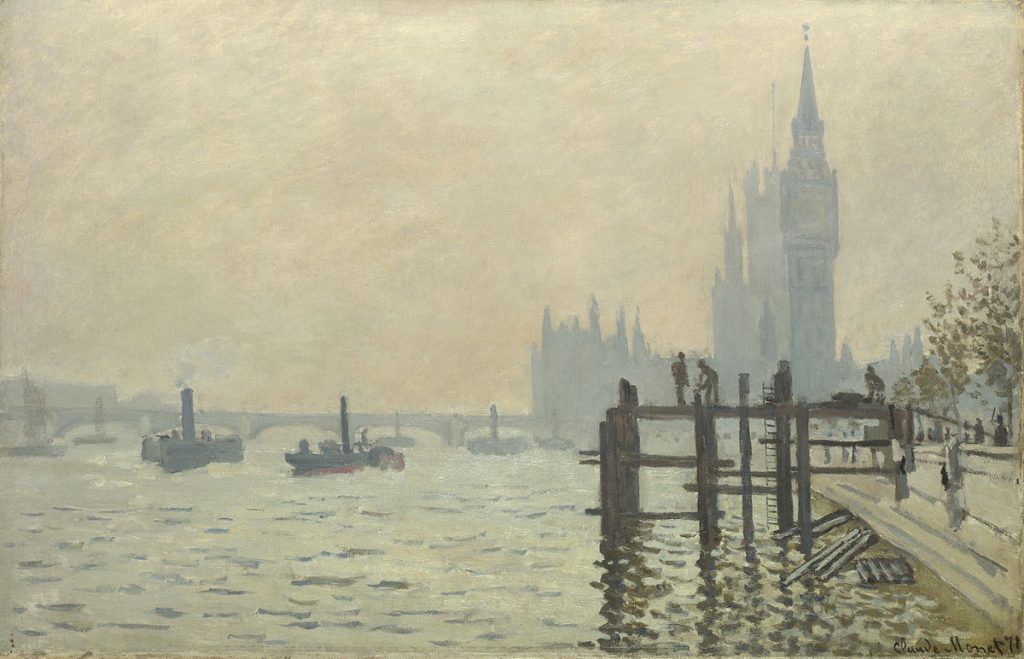
Because of the effect of the scattering of light objects become higher in value as they move farther away from the viewer. In other words: the farther away something is, the lighter it becomes.
Notice how the distant buildings in the background are much lighter than the dark structures in the foreground on Monet’s ‘The Thames at Westminster’ below. The French master uses this effect to create an astonishing sense of depth and distance in a painting that doesn’t feature very many details.
3. Color Temperature And Saturation
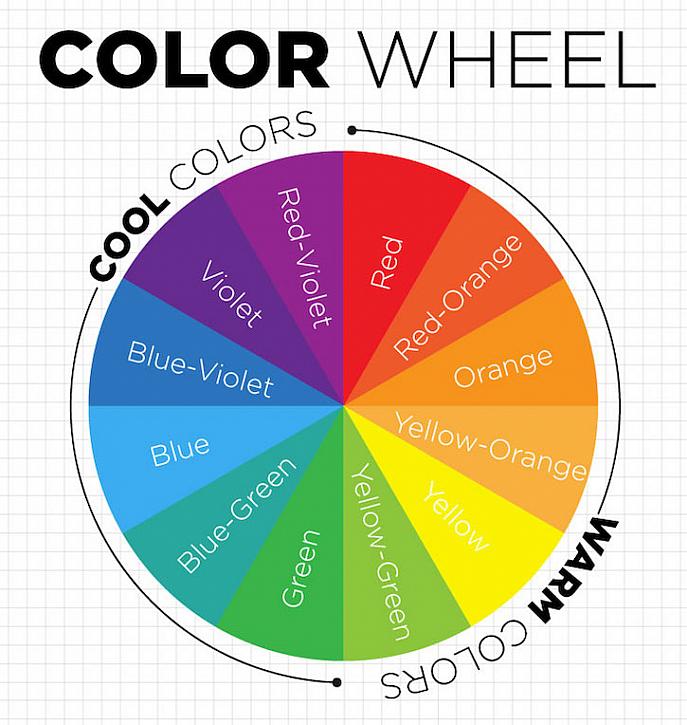
As objects recede into the distance the light traveling from them to the eyes of the viewers is shifted to color hues and they lose saturation. This means that things appear less intense and more blueish the farther away they are from the viewer.
This does not mean, that you can not have warm colors in the background of your paintings. Everything is relative, as is the “temperature” of your colors. While an object might appear bright yellow in your foreground it will be less intense and a little more greenish in the background, as if it is mixed with a little bit of blue.
Pro Tip: Push Your Aerial Perspective To The Next Level
A fantastic way to improve your atmospheric perspective in your landscape paintings was recently shared by TwoInchBrush.com community member ‘C.Dej.1028‘. They said:
Add the tiniest bit of your sky color to your snow color to aerial perspective to your mountains.
C.Dej.1028, TwoInchBrush.com
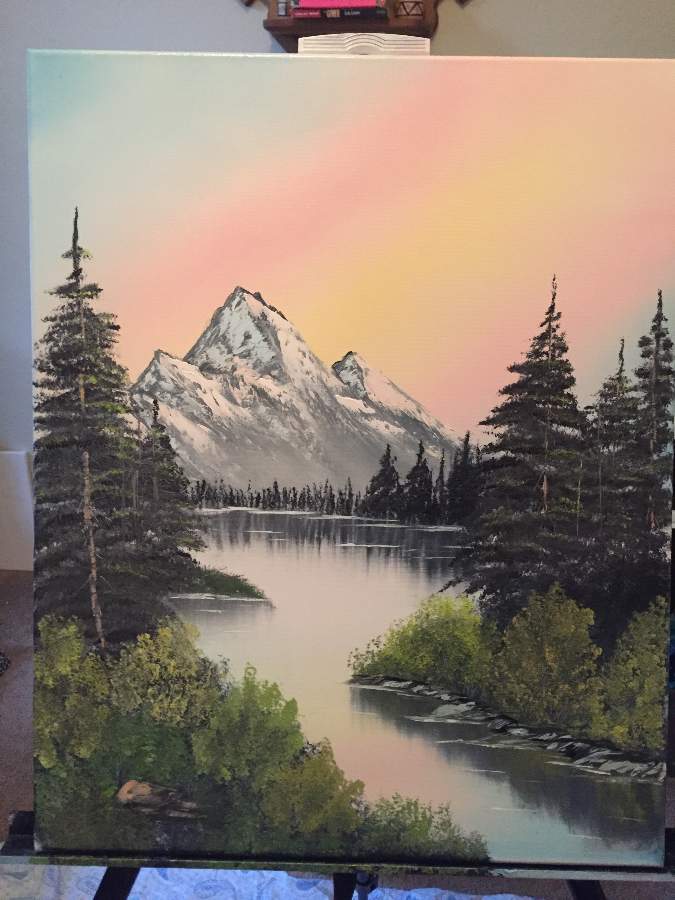
This simulates the scattering of skylight into the viewer’s line of sight. It blends the snow a little bit into the sky and pushes the mountains even further back, creating more distance and space in your paintings.
Summary
To create aerial perspective in your paintings remember these three principles to create the illusion of depth:
- Fewer details in the background, more texture in the front
- Objects in the distance appear lighter and lose contrast
- Colors become cooler and less intense the farther away they are from the viewer
You know understand atmospheric perspective, why it appears, and how to use it in your own paintings.
Join the TwoInchBrush.com-Community and share your own paintings with the world, meet friendly people, and exchange tips that help you grow as a painter!
Happy Painting!

