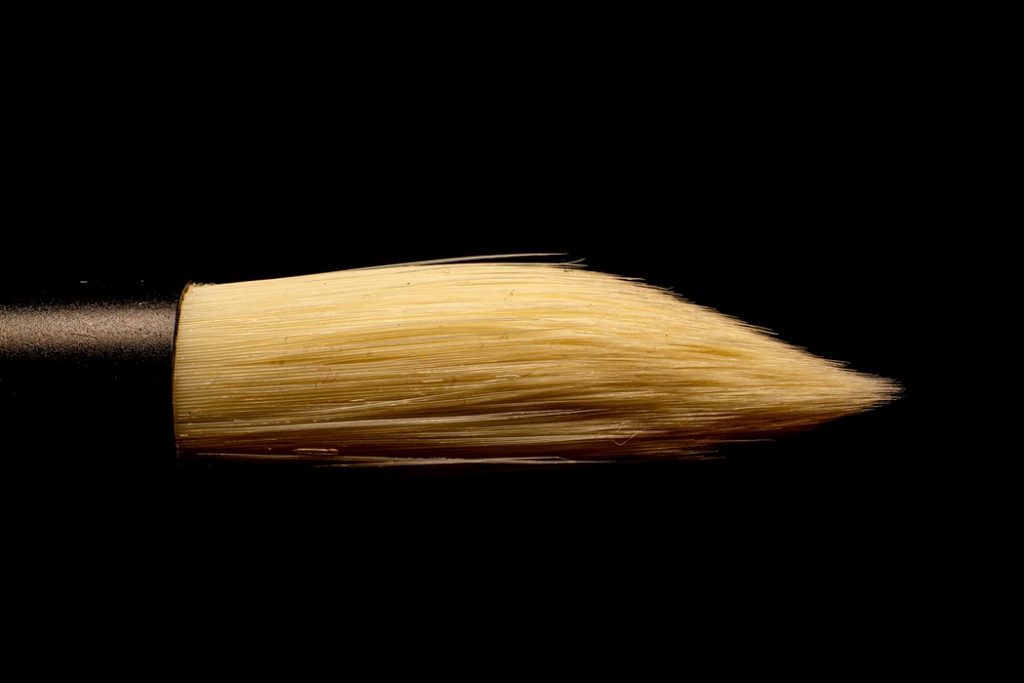
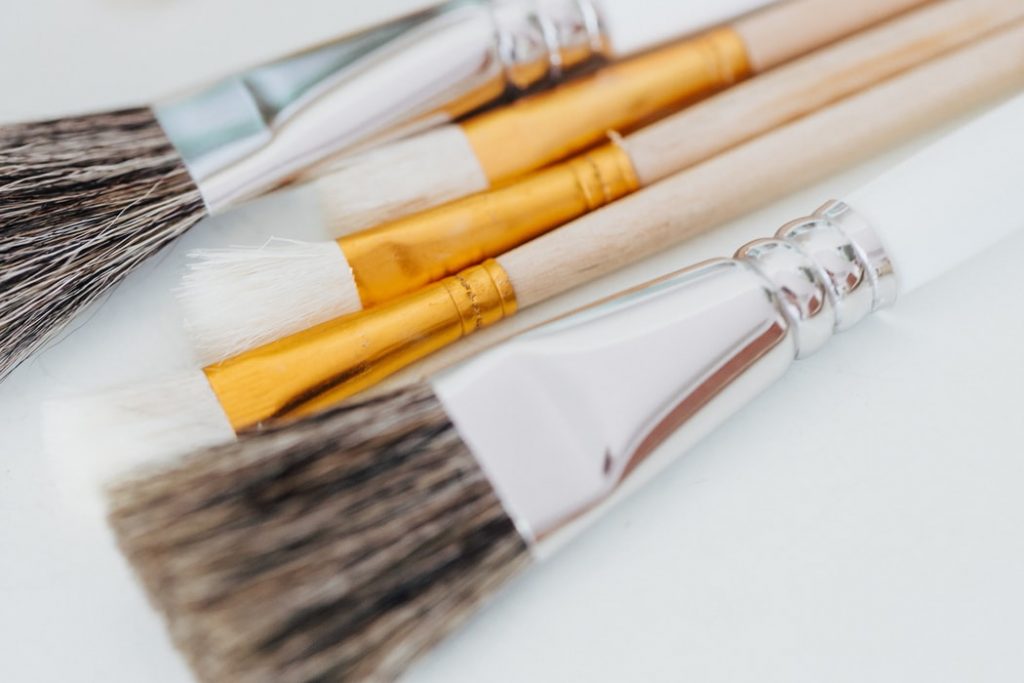
Every oil painter knows that natural bristle paintbrushes are expensive – especially high-quality ones. Bristles that are dense yet soft don’t come cheap. This is exactly why every painter needs to learn how to look after their most important tools.
Cleaning or storing your brushes the wrong way can turn that $30 natural hog bristle brush into a better wall painting tool faster than Bob Ross can churn out a landscape painting. Read on to find out how to do it the right way!

How To Clean Your Brushes
When we’re thinking about the act of painting we’re thinking about putting paint on a canvas with a brush. We’re not thinking about how to get the paint that didn’t make it onto the canvas out of the brushes.
But cleaning brushes is an important and sadly time-consuming part of the oil painting process. Be sure to read along and learn how to do it the right way. So you can quickly get back to putting paint on a canvas with a clean brush!
Step 0: Don’t Make A Mess
What’s the most effective way to clean up? Right, not making a mess in the first place. What does that mean for your brushes?
Don’t load your brush with more oil paint than you need. Putting highlights on trees? You don’t need half a tube of paint in your one-inch brush, a little bit on the end of the bristles is enough.
Use just enough paint to accomplish whatever it is you are trying to do. The less paint you’re loading, the less you have to clean.
Step 1: Mechanical Cleaning
What sounds like a sophisticated cleaning method boils down to a simple message: get as much oil paint out of your brush as possible!
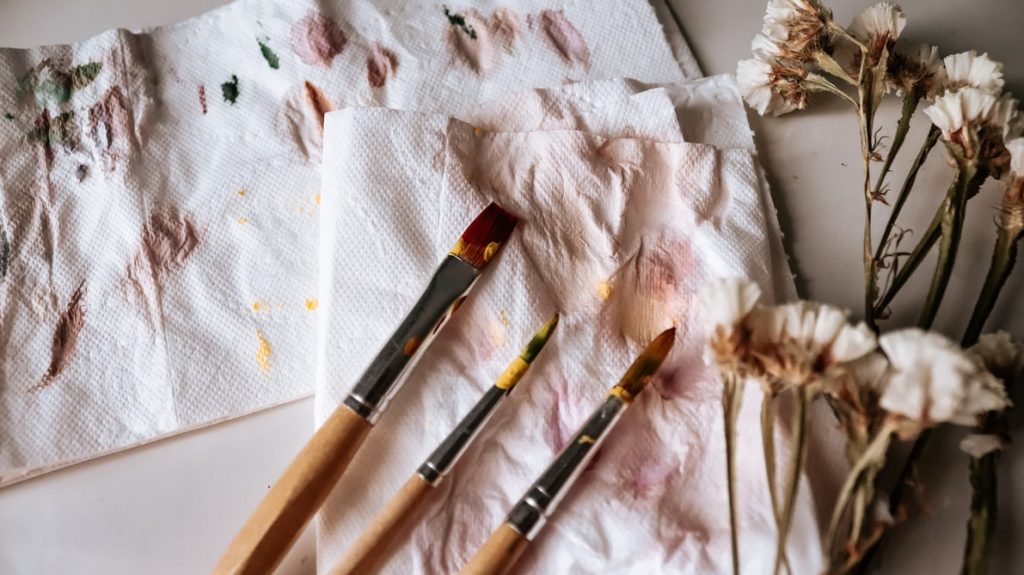
After following step 0 and not using more than necessary you should be fine with wiping your brush down on some paper towels. Maybe try to press the bristles together to get out paint that’s deeper inside the brush.
In case you’ve loaded a lot of oil paint, you can try to take a paper towel and squeeze out as much paint as possible. Think about getting the last bit of toothpaste out of the tube! Squeeze from the bottom to the top. Depending on your color mix you can even reuse the paint you’re squeezing from the brush.
Step 2: Chemical Cleaning
Once you’ve removed most of the paint by mechanical means it’s time to clean the inside of your brush. To do this you’ll need something liquid to flush out the remaining paint that’s stuck deep between the bristles.
You need to get this paint out of your brushes. Otherwise, you risk the paint drying and hardening your bristles. Many good brushes have been ruined this way, so be sure to thoroughly clean your tools.
There are two main ways to go about this: the first way is using a solvent like paint thinner to wash out oil paint. If you want to avoid chemicals as much as possible you can also use oils like linseed oil in a similar way to paint thinner.

Cleaning with Paint Thinner
The name ‘paint thinner’ already tells us everything about how this step works: we’re using a solvent to break up the paint inside of the brush so that it can simply run out and leave us an almost clean tool.
To clean your brushes you need to rinse them in paint thinner. Be careful not to push too hard against the bottom of your paint thinner container as this can break and bend the bristles. Carefully swirl the brush around to get the solvent inside of your brush.
Once you’re done, run the brush along the edges of your container to remove excess paint thinner and oil paint from the brush. Repeat this process if you think it’s necessary. Use paper towels to pull the last bit of paint thinner out of your brush.
If you’re working inside it is best to use odorless paint thinner. Otherwise, your whole home is going to reek of oil paint cleaning chemicals.
Cleaning with Oil
If you want to avoid solvents and clean your paintbrushes without paint thinner you can also use another oil. Simply replace the paint thinner with a high-quality oil used in painting.
A perfect example and one of the most used oils for this process is linseed oil. Some people also reportedly use baby oil. The process is the same as with paint thinner: we’re thinning the paint inside of the brush to make it run out.

While cleaning with oil instead of paint thinner takes longer (you might have to repeat the process several times) it is certainly possible to do it. One benefit besides avoiding the chemical is a conditioning effect for your bristles. But we’ll talk more about conditioning your brushes later on in this guide.
Step 3 (Optional): Washing Your Brush
If you just need your brushes clean for the next step in your painting you can skip this step. But if you want to put your supplies away for longer than a few hours, you need to give them a deeper cleanse. Otherwise, the paint thinner can damage the natural bristles of your brush.
In this step we want to get the rest of the paint thinner (and whatever oil paint is still stuck) out of the brush. As you can imagine the chemicals and the paint are not supposed to stay between the bristles.
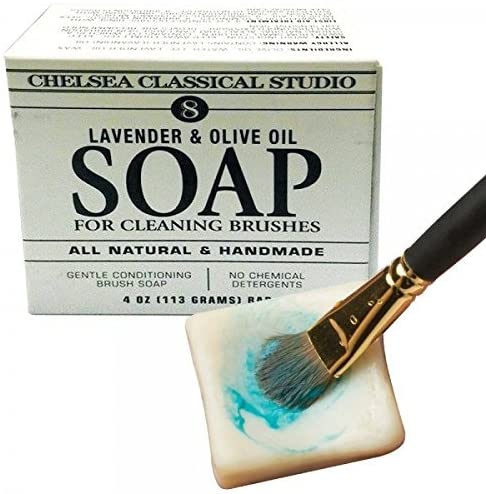
If you’re on a budget you can use shampoo or a normal bar of soap for this step. For optimal results, we recommend painter’s soap for cleaning brushes though. In some cases, you may even need a special oil paint brush cleaner. This might be the case after using very intense or dark colors.
A lot of these specialized brush cleaners are also used as conditioners for brushes. So by using them you’re also making sure they remain in great condition (pun intended) to last a lifetime.
The Right Cleaning Motion
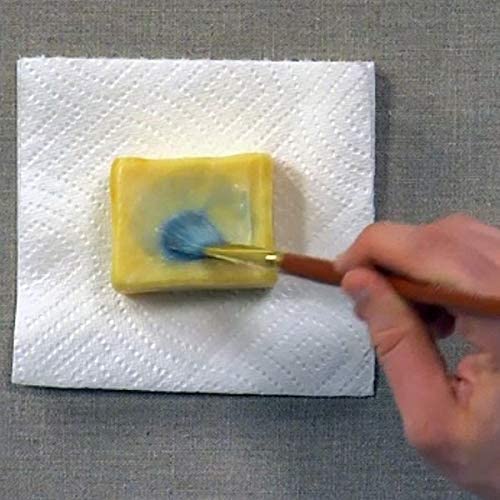
To wash your brush you need to create a lather that will deeply penetrate the space between your bristles. Be careful to use the right motion for this step: don’t push the bristles of your brush into the bar of soap (or your hand, if using dish soap). This will damage them.
Create the lather by individually running your brushes across the soap. Wiggle them from side to side while pulling them along the soap from both sides. If you’re using shampoo you can do this with your hand instead of a bar of soap.
Once the lather is inside the brush rinse it with warm water. Repeat this step until you can’t see any more color coming out of the brush. Give it one last warm water rinse.
Step 4: Drying Your Brush
You should now have a brush that’s clean but still wet. It is important to get it dry before putting it into storage to avoid rot inside the bristles that might damage your tools.
Remove most of the water by shaking the brush (or as Bob Ross calls it: beat the devil out of it!). Be careful to not overdo it though, as this might damage the bristles. (You might have noticed by now that bristles can get damaged by a lot of things).
Use a paper towel and squeeze out any liquid that is still left inside the brush. The towel’s absorbency should pull a good amount of water out of the brush, making it feel almost dry.
While the brush still has minimal moistness you now need to form its tip into a clean edge. This ensures that the brush keeps an optimal shape while drying. Don’t skip this step! Once your brushes lose this edge it will be hard to paint clean lines with them.
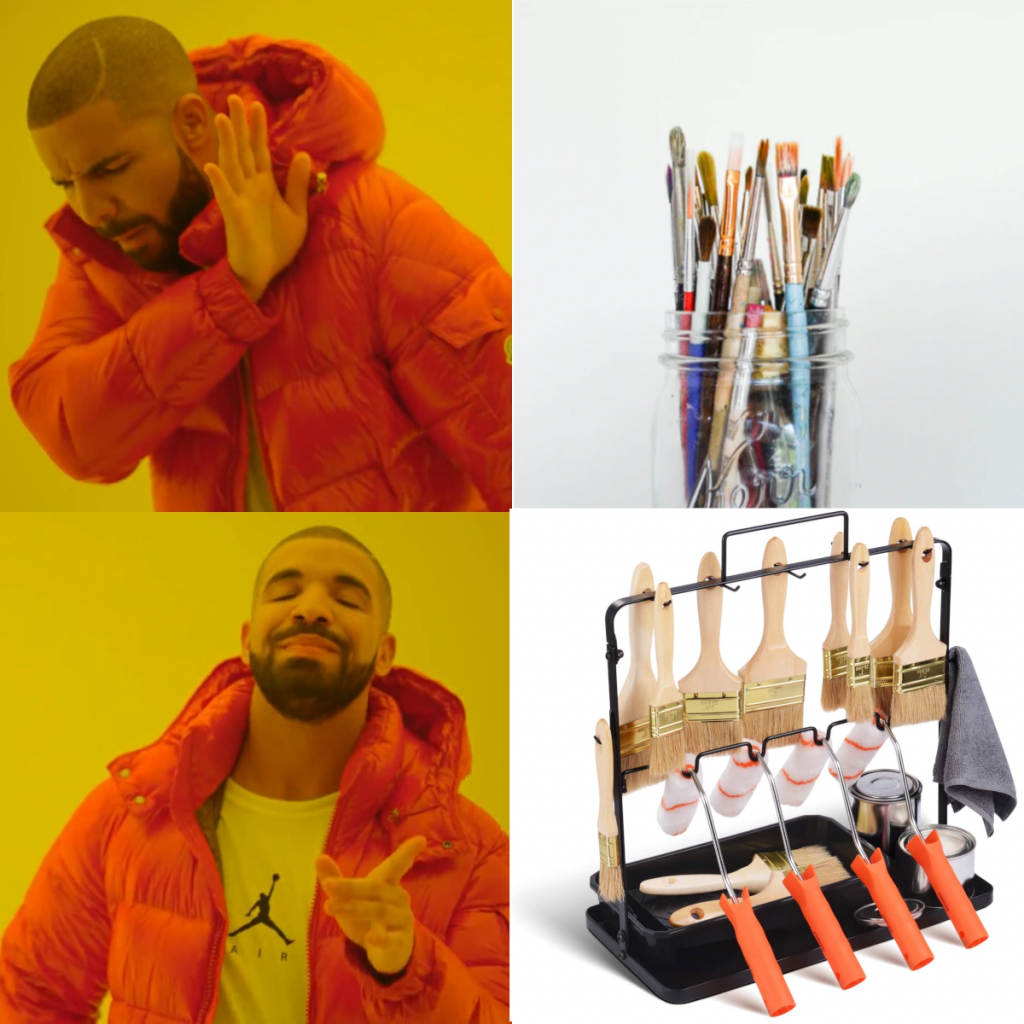
Continue reading below to find out how to best store them now. Avoid putting them bristles up in a can, as this can irreparably damage your brushes!
How To Store Your Brushes
If you’ve read through the first part of this guide you won’t be surprised that there are right and wrong ways to store natural bristle paintbrushes. If they can get damaged by cleaning them wrong, simply throwing them into an old shoebox with your other supplies won’t be the best way to take care of your tools.
Depending on the time until your next painting your brushes need different levels of care and cleaning and can be stored in different ways. Continue reading to find out more!

How Long Until Your Next Painting Session?
When will be the next time you pick up your brush? Simply putting it aside after a pre-breakfast painting sesh to go at it again in the afternoon or tomorrow? Or did you just finish your yearly Christmas painting and won’t be painting for another year?
Short Term Storage
If your next painting session is not too far out – say a few days at the very most – you don’t even need to do the full cleaning process. Follow step 1 and step 2 of the guide above to get most of the paint and paint thinner out of the brush.
After that, you can use a slow-drying oil to keep your brushes moist and prevent them from drying out and getting damaged. Simply work a little bit of e.g. safflower oil into your brush. This will prevent the remaining paint inside the brush from hardening.
When you’re picking the brush up for the next time give it a good wipe down with a paper towel and maybe a quick rinse with paint thinner. Continue to use it as you would normally do after a mid-session cleaning.
Long Term Storage
If the next use of the brush is further out you need to clean it thoroughly before putting it into storage. That means getting all the paint and solvents out of it and ideally using a brush conditioner to keep it soft.
Using Brush Conditioner
If you’ve decided to use a brush conditioner: Once you’ve cleaned your brush and dried it off you need to work a little bit of the conditioner into your brush. Simply follow the instructions on the product on how to best apply the conditioner.

If you want to save money you can use a few drops of clean baby oil. Get it between the bristles and wash it out before using the brush the next time. Just like you would do with a special brush conditioner.
General Storing Guidelines
Regardless of the length of your painting break, there are a few general rules you should follow when storing your natural bristle painting brushes. Follow these simple tips and your brushes are sure to have a long life!
Clean Brush
Always clean your brush before it goes into storage. If you’ve read this guide you probably already know that leaving paint or paint thinner in your brush makes it dry out and harden. And nobody wants a hard brush!

Keep The Head Down
Never store your brush bristle side up. Almost every beginner painter simply puts their brushes upside down inside a can until the next session. Fact is, that you should avoid this position as much as possible!
Having the brush bristles up makes the liquid that’s still inside your brushes run down into the brush, where their bristle meets the handle. Depending on what your brush is made of, this can have detrimental effects.
Wooden handles can swell up from the liquid and bend the metal that keeps the bristles in place. Once it dries the wood can shrink back and make the bristles fall out. For plastic handles, the paint thinner and other liquids can break down the glue and other adhesives inside the brush.
Keep The Form
While storing your brush bristle side up is bad, storing it bristle side down is even worse! At least when your brush is standing or leaning on the bristles and deforming them.
Make sure that your brush keeps its shape. Only a brush that is holding a nice sharp edge will allow you to paint clean lines and work with precision. The best way to store it is in a brush hanging rack.
Ventilation
Make sure your brushes are kept in a well-ventilated place. At least for the first time of the storage period. Leaving them moist will allow the wood to rot and break down. That means no tossing your brushes inside an old shoebox and calling it a day!

The 5 Easiest Bob Ross Paintings For Beginners | TwoInchBrush.com
Monday 2nd of August 2021
[…] The Big Brush Care GuideLearn about the best way to clean and store your brushes. A must-read for every painter!Read more […]